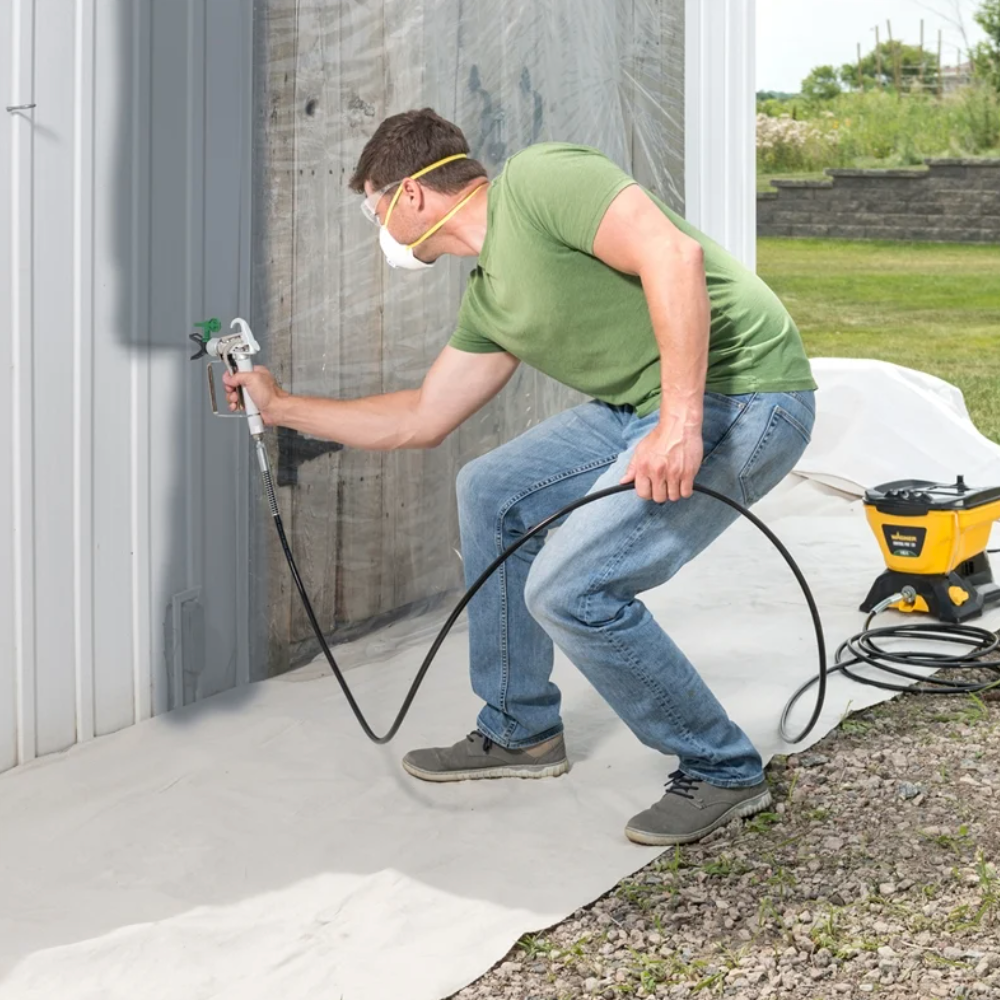
It is never enough to invest in the best airless paint sprayer that you can purchase in the market. Instead, you have to learn how to take care of these devices, and one way to do this is by learning how to clean an airless paint sprayer.
Why is it important to learn how to clean an airless paint sprayer?
Airless paint sprayers are a must-have if you want to get a painting job done faster, but their longevity depends on the care and maintenance provided. Cleaning your equipment immediately after use is a ticket to avoiding the malfunctions or damages that can be caused by hardened spray material. In turn, this will save you from the burden of incurring high repair costs.
How to Clean an Airless Paint Sprayer – Step by Step Instructions
As a DIYer who wants to learn the best way to clean an airless paint sprayer, you need to understand that your first trials might be a bit challenging. This is because you will have to deal with many different parts. But, once you grasp how to disassemble and reassemble these parts, it becomes a straightforward procedure.
While there are different types of airless paint sprayers in the market, these devices’ primary components are similar. As such, this guide covers the must-knows by everyone regardless of the model they are using. The following is an overview of the process to follow:
The quick rinse process
Immediately after spraying with an airless paint sprayer, you need to ensure that the leftover paint is pumped out. This helps to avoid the risks of the remaining paint getting solid inside the sprayer or airless hose. From here, you need to clean the sprayer using either tap water or thinner (this depends on the type of paint used) using the following procedure:
- Set up two buckets to make the cleaning process easier. It is important always to know the type of paint you used for spraying before setting up your cleaning buckets. If you used oil-based paints, then you need to have one bucket filled with a thinner. On the other hand, if you use water-based paints, you need to have one bucket filled with water.
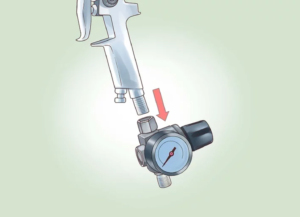
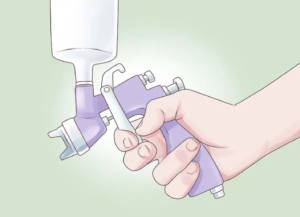
- Pump out the remaining paint into the empty bucket. The leftover paint needs to be pumped out at low pressure through the prime pump. You should then place the sprayer’s suction end into the bucket of water or thinner and continue pumping until the water, or thinner comes out.
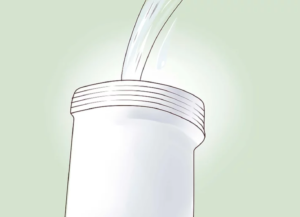
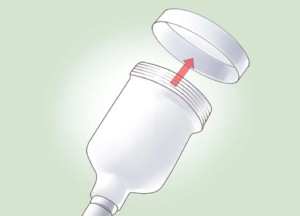
Pour a small amount of waste thinner into the cup (enough so the throat is overflowing)
Important:
Waste thinner is also referred to as recycled thinner; it is paint thinner that has been used before. The throat of the gun is in the inside at the very bottom of the cup.
Tip:
Whenever you are looking for solvents or thinners for cleaning your airless paint sprayer, you should avoid harsher substances such as acetone as they will damage the sprayer’s seals. You should equally remember not to place other parts of the sprayer, such as the paint spray gun, in the solvent.
Finally, remember to adhere to the recommended health and safety standards by wearing protective gloves and working in a well-aerated room/environment.
How to Clean Airless Paint Sprayer Equipment Properly
Once you are done with the quick rinse process, it is time to proceed to the next cleaning phase. In this stage of cleaning, you will focus on three main parts of the sprayer, namely:
- Filters
- Nozzle
- Sprayer gun
As a rule, ensure you refer to the manufacturer’s guide on these parts before attempting to clean them. You also need to know the right way to disassemble and reassemble your sprayer.
Disassemble the Sprayer for Cleaning
Clean the filters
Your airless sprayer most likely has two or three filters depending on the model you have. These filters are:
- The suction filter, which is found on the end containing the suction hose.
- The manifold filter, which is found on either the left or right side of the sprayer’s body.
- The pencil gun filter, which is on the handle of the spray gun.
You should take all these filters out and place them in the bucket containing water or thinner. Only these parts are to be placed into the solvent, and after they soak, you should gently scrub and wipe them clean. For the scrubbing, you can use an old brush to remove the hard substances.
Clean the nozzle
Similar to how you cleaned the filters, you will need to soak the nozzle in water or thinner before softly scrubbing it. This can be done by using an old toothbrush to reach the dirt inside the nozzle. If you still notice residual paint inside the nozzle, you can clear it by using nozzle needles.
Always ensure that your nozzle is so clean enough that you can see through it when you hold it towards direct light. If you notice any dirt or blockage, then it is not yet clean and needs better scrubbing.
Clean the airless sprayer gun
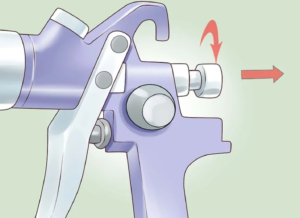
The last step to having a clean airless paint sprayer is cleaning the gun itself. Airless sprayer guns have lots of small parts that need to be cleaned with the utmost care to avoid damages. You will need to have small-sized soft brushes for cleaning this part. As you scrub the gun, attention should be paid to the small seals found between the gun and nozzle that often get lost during cleaning.
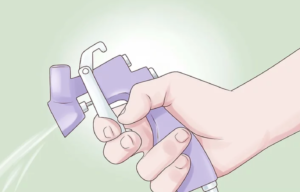
You will need to remove the spray guard, spray tip, hose, and gun filter as you clean the gun. Once this is done, you need to flush the gun under fast-flowing water as you hold the trigger down. This should be done for about a minute until water flows into the spot where the filter previously was.
Though this process can be quite repetitive, doing so well only save you from future headaches and you can be assured a clean paint gun.
After having all these parts cleaned, it is now time to reassemble your clean airless paint sprayer. Still, you need to adhere to extra maintenance requirements that include:
- Oiling the parts specified on the manufacturer’s guide.
- Preservation of the sprayer using the recommended care products.
- Proper storage of the clean airless paint sprayer.
Other must-have equipment for your painting projects
Besides having an airless paint sprayer, another useful tool required to make your woodwork projects simpler is a Power Random Orbit Sanders. This device comes handy for all those sanding tasks that need to be completed efficiently and as fast as possible.
Another must-have item when cleaning your workshop is a Shop Vac. You will particularly love how this tool makes cleaning debris such as old paint a walk in the park.
Finally, if you are interested in other DIY painting projects, you need to check our article; How Much Does it Cost to Stain a Wood Fence?