If you’re after a simpler way of cutting crown molding flat, you’ve come to the right place. After all, there’s no doubt that crown molding can be a little intimidating – especially if you’re walls aren’t flat and you have trouble securing a tight nail.
The majority of techniques for cutting crown molding involve awkwardly holding the crown against the fence of the saw while making the cut.
Alternatively the crown can be laid flat on the saw, which makes the process a little easier.
This technique is for cutting crown to fit a 90 degree corner (it is important that you measure your corner first to ensure that it is the correct dimensions). You’ll also need a miter saw to complete the job. To check out our reviews of what to look for when buying a miter saw, click here.
Step One:
Set the miter angel to 31.6 degrees (many saws will have 31.6 specifically marked)
Step Two:
Set the bevel to 33.9 degrees (again, it should be marked)
Step Three:
Lay the crown flat and cut (yay! No more holding it at an angle)
Step Four:
Reverse the settings and repeat
How to Install Crown Molding
Crown molding can bring so much timeless elegance to a room. Installing is a process you can learn with a little patience and by following the right steps.
Molding comes in varying heights and styles, with plenty of options to choose from. As the angle at which the molding will sit against the wall varies, (between 38 degrees and 52 degres), be sure to measure it before you begin cutting. Most crown comes in 16-foot lengths, so a single piece can usually span each wall. If it can’t, then two lengths join end to end in a scarf joint.
It’s important to be prepared and purchase the right molding for your needs. So how much is crown molding? Well that will depend on the type of material you purchase as there is a lot of variation from traditional plaster to high tech flexible polymers.
Site Prep
Crown molding is primarily nailed to wall studs along the bottom edge and into the ceiling joists above. You’ll need a good stud finder here for accuracy and precision.
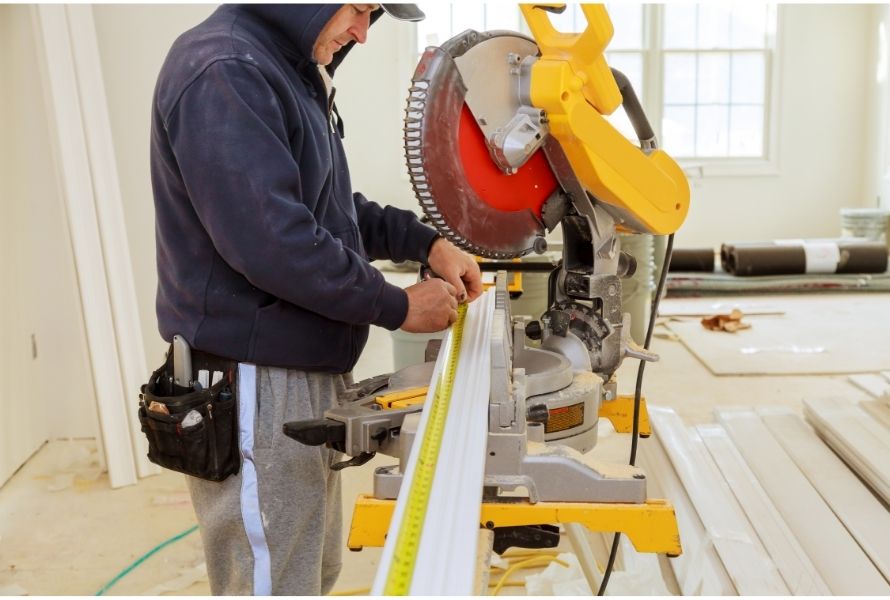
Cutting
There are two ways to cut crown and I’d recommend a miter saw for the job. You can either lay the crown flat beneath the blade or set it against the saw at an angle. In this respect, it will be installed between the wall and the ceiling. With the latter option, the saw table acts as the ceiling and the fence is the wall. Then an upside down piece of crown can now be cut at a 45 degree vertical chop for a compound cut.
To hold the crown in place, it helps to clamp a cleat to the saw table.
Make any necessary scarf cuts
If any wall in your room is longer than the pieces of crown molding you have, you will need to join 2 lengths with a scarf joint.
Inside Corners
For an inside corner room, you’ll need to use a coped joint. This just means that the piece of crown is tailored to fit an adjacent profile’s curves (for a tight fit) rather than a simple miter joint (as from my experience, walls are rarely an exact 90 degrees). You’ll need a coping saw to back cut the molding along its contoured profile. The idea here is to saw away enough wood to allow the coped cut to fit tight against the first piece of crown.
Outside Corners
When 2 walls form an outside corner (eg 270 degree angle in the room’s interior), the joinery is fairly simple. Just place the first piece of molding in the miter saw against guide fences and cut it at a 45 degree angle.
Cut the adjoin piece with the saw in the same position except keep the piece of molding you intend to use on the other side of the blade.
Installing Crown Molding Once Cut

Step 1: Nail the first length of molding in place with finish nails. It you made a scarf cut to cover the first length of wall, apply a thin layer of glue to the scarf joint on the first piece of molding. Now fit the scarf joint together snugly and fasten the second piece with finish nails.
Click here to see our post on the best cordless finish nailer (including crown molding).
Step 2: Nail the rest of the molding in place. Note, if a corner joint doesn’t quite fit, use a rasp to quickly and evenly grind down extra wood until you find a perfect fit.
Step 3: Smooth the crown; use 100 grit sandpaper for finishing scarf joints on bald wood.
Step 4: Paint the crown. You’ll need a paint and a brush and enamel is ideal. If you get acrylic enamel, it will dry quickly and is less odorous then alkyd enamel (although the alkyd enamel has a more prestigious finish).
Note: you can paint the molding before you install it – but you’ll have to repaint anywhere that gets scuffed during installation.
Pro Tips:
- You can buy double-sided molding (that’s decorative on both sides). This can help to minimise confusion when making cuts.
- Would recommend buying more molding than you need to use. Most of the time you can return any unused molding but having extra material in advance could save you some grief mid job.
- Make sure you measure the corners accurately – hardly any are a perfect 90 degrees.
Final thoughts…………..
Although it might take a little practice and careful preparation, your attention to detail will be worth the effort.
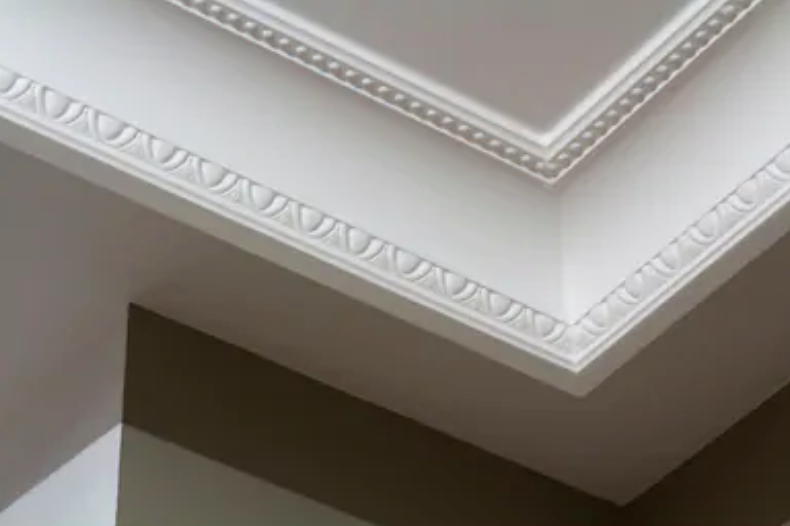
The right trim can transform a room – from the kitchen to the den, impressive crown will certainly attract attention.
I love a room with crown perched high at the wall and ceiling junction. It becomes an eye-catching focal point that will pay dividends in the long run from astute buyers.