Knowing how to nail baseboard with a nail gun yourself can save you the cost of hiring someone else to do it for you. It’s not too complicated at all and it’s important to do properly as a baseboard can protect the wall from wear or damage. The right cordless finish nailer can certainly help too.
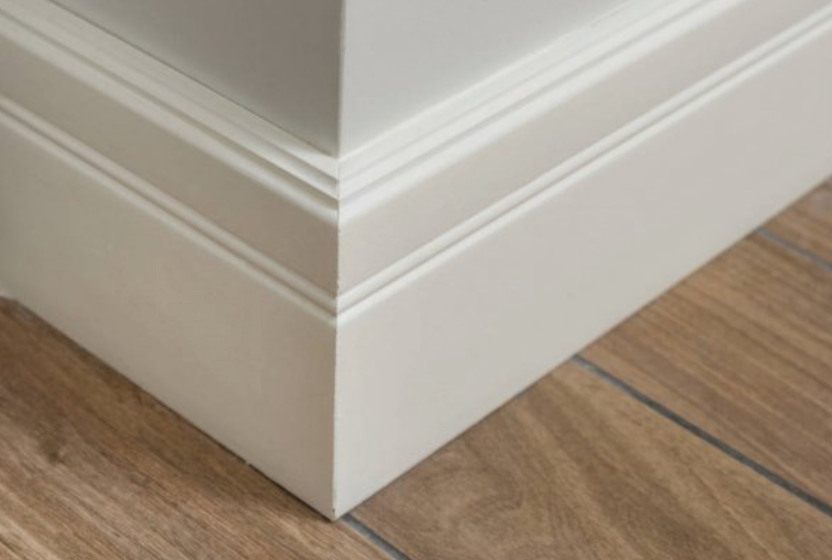
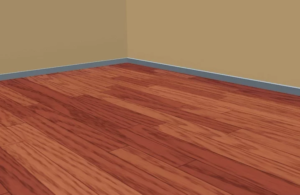
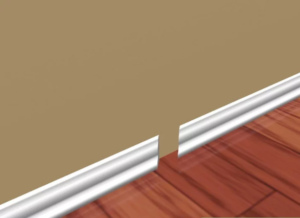
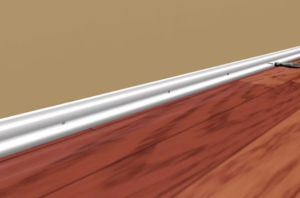
Baseboards are placed between the floor and the lowest part of the wall. Generally, there are plastic and wooden pieces that you can use with your nail gun.

Installing baseboards with a nail gun is not complicated, just follow the necessary safety measures and the correct step by step guide to achieve it without complications.
Completing other DIY jobs? You may be interested in: Best Rope Lights For Crown Molding
How to Nail Baseboard With a Nail Gun – Step by Step Instructions
- Take care with the right personal protection
- Choose the right nail gun
- Choose and prepare the equipment
- Measure and cut the baseboard
- Fix the baseboard using glue
- Prepare the nail gun
- Nail the baseboard
- Finish
1. Take care of personal protection
Personal protection is essential for safe work. Therefore, before starting work, appropriate safety equipment should be worn, including safety glasses, earplugs, a mask, coveralls, and safety boots. All of this makes it safe to work, avoiding injury or illness.
Disclaimer: as an Amazon Associate, I can earn from qualifying purchases.
2. Choose the right nail gun
DEWALT DCN660B 20V 16 Gauge 20° Finish Nailer – 20 Degree Finish nailer

There are different models of nail guns, all varying in capacity, size, price, and functions. Therefore, you should choose the one that best suits the specific project you are developing.
In this case, the Finish Nail Gun is the most suitable. It is an extremely lightweight tool, which means it is easy to operate. Besides, it stands out for its practicality, being ideal even for the less experienced.
Also, this type of nail gun offers the possibility of being used to install floors, cabinets, chair accessories, and other decorative pieces. Thus, you will not only choose a nail gun that can work as a useful tool in future projects.
At the same time, a Cordless Finish Nailer is very useful. This type of tool facilitates the whole process and offers greater convenience in reaching the most uncomfortable places by not using wires.
3. Choose and prepare the equipment to be used
It is important to choose the equipment carefully to get a perfect job. Also, before starting to work, everything must be ordered to be available during the process. What will be used is:
- Baseboards
- Measuring pencil
- Wood glue
- Wood filler
- Measuring tape
- Coping saw
4. Remove old baseboard with a pry bar
Gently Pry off the old baseboard so the wall won’t be damaged (you can always use a piece of scrap wood between the wall and the pry bar to help). A small pry bar is all that is needed. Later you’ll be able use it as a guide to mark and cut the new molding. You’ll also need to remove any nails left in the wall behind.
5. Measure the baseboard
At this point, it is time to measure the baseboard and proceed to cut it. The tape measure should be used to measure the baseboard, considering the length of the wall. Then, where the baseboard is, cut very carefully and very precisely to match the angle of the wall.
6. Use the old baseboard to make a template for corner cuts

Remember you can make a template out of stiff paper or cardboard for difficult cuts if there is no old molding to work with.
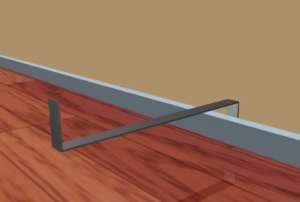
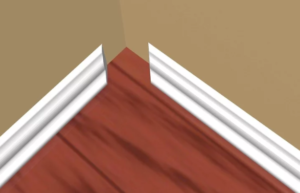
7. Cut pieces so two of them meet together at a wall stud
Also, allow for the depth of both pieces of the molding when butting two pieces together at a corner. If you have a miter box you can miter the corners (cut at an angle) so they fit together neatly. Make sure cuts where molding will meet another piece in a line are perfectly straight to avoid gaps between pieces.
8. Remember to miter the corner pieces nicely so they fit snuggly together.
Now, if the size of the baseboard is less than the length of the wall, an additional piece of baseboard must be joined to cover the space correctly. To do this, it is advisable to cut one piece and then the other in the opposite direction, so that they fit together. Throughout this process, it is useful to know how to measure the crown molding as a lot of the process is the same.
It is recommended that the cuts to join the baseboard pieces be made at 45-degree angles, so that it looks like one piece once it is installed.
However, if the piece of the baseboard is longer than the wall, it is time to cut the baseboard flat molding flat so that it joins the wall correctly at a 90-degree angle. Check out our article on how to cut crown molding flat as a lot of this applies here.
9. Fix the baseboard using glue
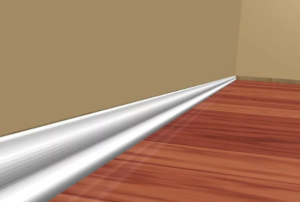
A lifehack that makes the process of nailing the baseboards much easier is to fix them with glue before using nails. When gluing it to the wall it will stay fixed in the right position, this serves to have a clear idea of how the final result will be.
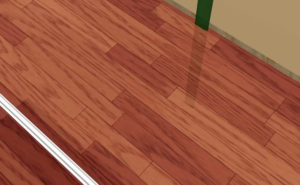
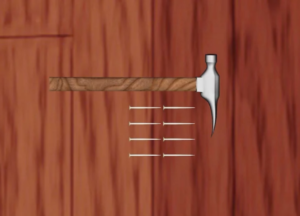
10. Nail the baseboard in place
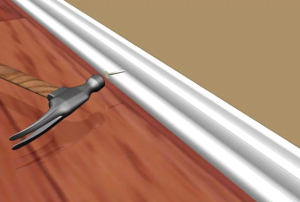
Use finish nails about 2”(5.1 cm) in length.
Once the baseboard is fixed in place with the glue and the gun has been tested, it is time to nail the baseboards. The whole process of how to nail baseboards with a nail gun pays off at this point, it must be nailed at both ends and then one every 20 inches of separation.
Of course, all this must be done with great care so as not to break the baseboard pieces, particularly when working on very old or unstable walls.
11. Try to get finish nails into a stud
Place the nails about 18” (45.7 cm) apart or at each wall stud
12. Finish the job
Once all the baseboards are properly nailed down, it’s time to finish the job. To do this, all the gaps between each piece of wood must be filled with putty; once this has dried completely, it is sanded smooth to achieve a completely smooth and uniform surface.
Quick Tips
- You can buy wood and plastic “wood look alike” molding as well. Both have their advantages and disadvantages.
- Molding comes in various sizes. Generally the bigger the room, the bigger the baseboard tends to be to ‘fill’ the space and draw eyes down as a feature. Always buy an extra piece to allow for mistakes.
- Make you that you paint or stain molding before installing it. Will be far easier.
- Small pieces of molding that won’t be able to be nailed into a stud will probably stay in place with nails into the wall.
- A nail gun makes quick work of nailing molding in place if you have a lot of molding to install.
Final Thoughts…..
In short, with this step by step of how to nail skirting boards with a nail gun, it will be very easy to complete this task. Of course, following the instructions will make everything easier, and using an excellent quality nail gun guarantees good work and much less risk of breaking the baseboards.
At all times, the priority must be to achieve a durable and aesthetically-pleasing job. Wooden baseboards give an elegant enhancement to any space and with a nail gun, it becomes very simple.
Of course, each construction project is unique and can present particular difficulties. However, knowing how to nail baseboards with a nail gun will reduce all obstacles, allowing you to achieve a job full of excellence, durability and quality.
Interested in other articles? Check out….
How to Use a Circular Saw Without a Table
How Does a Pneumatic Nail Gun Work
I never tired but yeah this is something useful, thanks for sharing…
Hi Authentic Pick
No problem. I wrote this as I’ve been asked about it before so thought I’d share some tips. Glad it came in handy 🙂
Cheers,
Ash