Many of us know that installing crown molding is one of the easiest ways to add value to your house and this is a very good thing. However, what happens if the crown molding starts to separate from the ceiling? This situation is never good. A bit of a nightmare situation for most homeowners in fact. So if you find yourself with some crown molding that needs a bit of TLC, we’ve got some useful tips to help you out.
Why is the Crown Molding Separating from the Ceiling?
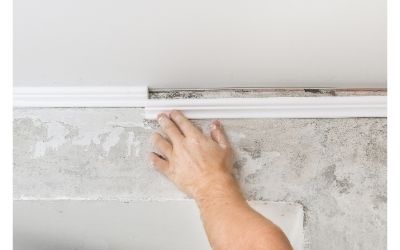
The crown molding separates from the ceiling due to humidity and extreme temperature differences. When temperatures and humidity drop, the walls (particularly those made of lumber) dry out and shrink. This mostly happens in kitchens and bathrooms. It also occurs during winter when air temperatures and humidity drop considerably. Consequently, the caulk cracks, and the walls pull down, causing the crown molding to pull away from the ceiling.
What Causes the Crown Molding to Separate from the Ceiling?
Severe variations in temperature and humidity levels inside a house are the primary causes of the crown molding detaching from the ceiling. The air inside a house cools down during winter. It also contains less humidity than it does during the warmer months.
This extreme change causes the lumber behind the drywall to shrink, and caulk to crack. As the walls pull down, they drag down the attached crown molding, causing it to separate from the ceiling.
Another cause of the crown molding-ceiling gap is destruction by various bugs and termites. Wooden crown molding creates stunning and natural beauty in a house. It’s also susceptible to attack by pests such as termites, beetles, and other bugs. These pests can work through the crown molding and caulk, causing it to separate from the ceiling.
Water damage arising from leaks and floodwaters can also cause the crown molding to pull away from the ceiling. As the wood beams inside the walls rot or shift, they drag the crown molding along and separate it from the ceiling. Rotting or shifting of a timber truss also causes the crown molding to part with the ceiling.
How Do You Fix Separated Crown Molding?
Let’s face it- it’s very hard to install crown molding perfectly. Even if you do, it’s almost impossible to keep it perfect for long. On the other hand, it’s quite easy to give the crown molding a pristine look.
It’s inevitable for the crown molding in your house to degrade over time. Extreme temperature and humidity differences, along with aging cause the crown molding to separate from the ceiling. Such crown molding can be an eyesore but is surprisingly easy to fix.
First, the easiest way to fix separated crown molding is to caulk the crack during winter when it is widest. Do this using a heavy duty sealant or adhesive caulk with long-term flexibility. The caulk seam may push a little out of this gap after a few months, but it will perform beautifully when cold weather sets. This way, you won’t need to reinstall the crown molding or recaulk it for a long time.
In case your crown molding still leaves sizable gaps or doesn’t nail in after recaulking, consider using ‘caulk-saver foams’. These are specialized foam filler strips that blend into the crown molding-ceiling opening. This way, you need much less caulk to cover the gap. Even better, caulk won’t keep squeezing into the gap.
Second, you can fix gaps and cracks within your crown molding using a gap-filling adhesive. After this, remove excess adhesive, let the sealant dry, and then cover it with a suitable spackle. Afterward, smooth the repaired crown molding by sanding before repainting it for a smooth and consistent finish.
Lastly, you may have to replace your crown molding if the separation damage is extensive. For instance, if your wooden crown molding is damaged by pests, you first have to remove the infested pieces. Then, replace them with treated wood for a spanking new look.
How Do I Fix the Gap Between the Crown Molding and the Ceiling?
According to the Washington Post, you can use caulk to fix the gap between the ceiling and the crown molding. Caulk not only seals the gap but also conceals cracks and uneven edges among other construction imperfections. What’s more, it can keep out bugs, water, and cold drafts.
Caulking the crown molding-ceiling gap not only covers the gap but also creates a professional and gorgeous finish. You can even paint the caulk in sync with the crown molding and ceiling so the repair packs more beauty and uniformity.
Remember to caulk the crown molding-ceiling separation in the middle of winter when the gap is largest. Here’s how to go about it:
-
Choose a suitable caulk
There are different types of caulk that are designed for various surfaces, so choosing the most appropriate type is crucial. Ensure you select caulk that adheres firmly to both the crown molding and the ceiling, and creates a smooth and uniform finish.
Silicone caulk is the most suitable for rooms with high moisture levels such as bathrooms. On the other hand, latex caulk with an ‘interior use’ label works well for most of the other rooms.
-
Clean the target area
It’s important to clean the area you intend to caulk since the caulk won’t adhere properly to a dirty surface. This includes the crown molding’s top edge and the contact point on the ceiling. . Remove grease and grime using a mild or household detergent and then wipe the dust and dirt off using a damp sponge or rag.
-
Prep the caulk
Slice off the tip of the caulk tube at 45° at a point where its diameter matches the size of the crown molding-ceiling gap. After this, load the caulk tube into the caulk gun. Pull back the rod on the caulk gun, slide the caulk tube into the gun, and push the rod back against the bottom of the caulk tube.
iv. Caulk the gap in sections
Aim the caulk gun at the top edge of the molding and then apply steady pressure. This will enable you to apply the caulk in a single bead, in sections. Remember to install painter’s tape along the crown molding and ceiling edges for a perfect caulk line. This will also help you to avoid repainting the crown molding and ceiling afterward.
-
Smooth out the caulk
Smooth the caulk coat by dipping your finger in clean water and then tracing it gently along the caulk bead’s length. Do this before a skin forms on the caulk’s surface, and then remove the painter’s tape before the caulk dries.
For a more professional and seamless finish touch, paint the caulk the same color as the ceiling or crown molding. You can also use a suitable spackle to give the painted caulk an even more fascinating and smooth appearance.
How Do You Keep Crown Molding in Place?
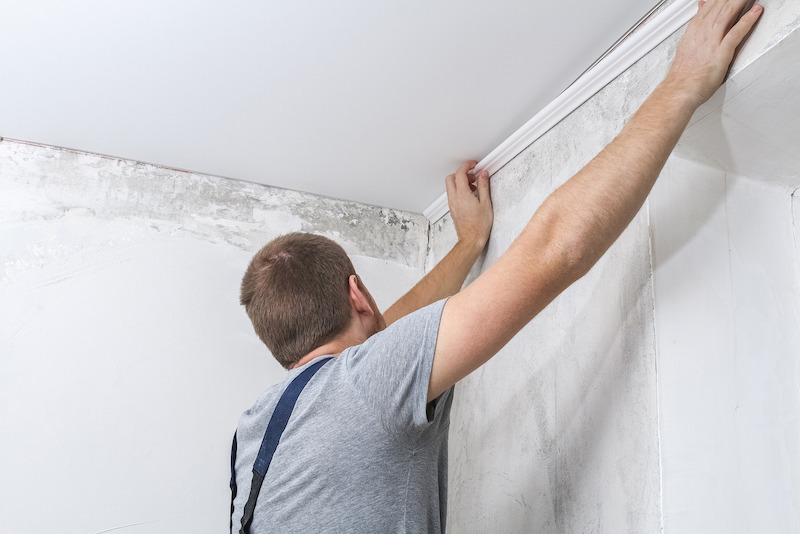
The best way to keep crown molding in place is to install the right type for your specific house properly. You do this by attaching the crown molding to the ceiling instead of nailing it to the walls. This enables the foot of the crown molding to slide up and down the surface of the wall as the latter shifts during seasonal changes.
Here’s how to go about it:
- Find a simple rough lumber triangular block to fill the gap between the crown molding and the ceiling
- Nail the block to the ceiling joists on two walls such that it blocks the other two walls
- Hammer the crown molding onto this wooden block with the nails going up toward the ceiling
- Ensure the nails don’t pierce the wall studs or top plate
- Fill up the nail holes, and then caulk them along with the remaining gap
- Retouch the caulk with paint for a smooth and consistent finish.
Another way to prevent crown molding-ceiling gaps caused by temperature and humidity differences is using two-part molding. Here, the upper edge of the crown molding attaches to the ceiling whereas its foot adheres to the wall. This keeps the top crown molding edge from separating from the ceiling when the walls shift.
Wooden crown molding creates a natural, professional, and fascinating finish in historic houses. However, you may want to go with PVC, MDF, plaster, or polyurethane crown molding to keep termites and other bugs away. PVC crown molding is mostly used in bathrooms because it’s resistant to denting and warping. Nonetheless, its slick surface doesn’t support painting.
Final Thoughts
Installing crown molding in a house is both fun and helpful. It upgrades a house to a fascinating and warm home, and enhances the resale value of the entire property. However, this valuable installation can be an eyesore when the crown molding starts separating from the ceiling. When this happens, you can fix the problem temporarily by caulking the gap. Nevertheless, your best long-term solution is reinstalling the crown molding properly by nailing it into the ceiling instead of the walls.