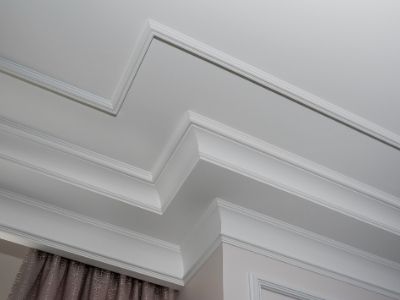
After all, installing the crown molding in a house, the long and straight runs are easy to handle. The challenging part is working around corners. At this point, you have to decide whether to cope or miter the joints.
When to Cope Crown Molding (Instead of Mitering)
When finishing colonial and historic houses, coping the crown molding joints is preferable to mitering. It’s also more effective to cope the crown molding on imperfectly configured walls than to miter it. Moreover, when you want tight joints that won’t shift due to weather variations, coping is the way to go.
Is it Better to Cope Crown Molding?
As a general rule, yes. Really the secret for a glove-tight fit for trim and molding corners is a coped joint.
Related Post: How to Cut Crown Molding Flat.
Also, coping presumably makes installation of the crown molding quicker. It enables you to nail the crown molding in an entire room before measuring, marking, and cutting it to fit. Nevertheless, you must first master this carpentry craft to install crown molding fast and flawlessly.
Second, generally it’s easier to cope inside corners than miters. Mitering tight inside corners is both tricky and tiring. Even worse, it often results in sloppy crown molding joints.
Third, coping allows for flawless installation of crown molding on walls that are not square or straight. Coped joints are relatively accommodating and they float over minor structural imperfections easily. On the other hand, mitered joints are restrictive and result in tacky crown molding on imperfect walls.
Fourth, coping keeps crown molding intact in areas with radical changes in humidity levels. Coped corner joints are firmer and tighter than mitered joints. Thus, they stay intact and hardly open up visibly due to shifting of the individual blocks.
Fifth, coping the crown molding enables you to polish the appearance of a room without ruining its original style. In particular, upgrading historic homes need a touch of historic craftsmanship. Coping is a historic carpentry craftsmanship that will be appreciated by most history buffs.
Lastly, coping results in perfectly-shaped crown molding joints. The craftsmanship is clearly displayed overhead for all to see. Even if the house has a few drawbacks, perfectly coped crown molding is sure to draw most of the attention.
Regardless, mitering allows for speedier and fancier crown molding installation on perfect-square walls. Besides, beginners find it easier and quicker to miter crown molding while coping requires prowess.
How Do You Cope Crown Molding?
The leading piece of a coped crown molding joint consists of a molding piece that’s sliced square and butted into the wall. The mating piece of crown molding butts into the first piece’s face. The latter is cut using a jigsaw or coping saw to align with the profile of the leading piece.
To cope crown molding, you need a coping saw, a miter saw, a miter box, a pencil and safety goggles.
Here’s how to easily cope crown molding for inside corners:
Step 1: Cut the first piece of the crown molding straight, with its square end butting against the wall
Step 2: Place the second piece of crown molding with the ceiling side pacing down in the miter box. Then, set the box at 45° to the right before making the cut
Step 3: Use a pencil to highlight the edge of the crown molding where you need to cut
Step 4: Cut out the crown molding piece along the marked edge using a coping saw
Step 5: Use a round file or sandpaper to smooth out the rough edges of crown molding piece you’ve coped
Step 6: Push the second coped piece of crown molding firmly against the square face of the first piece. Manipulate the mating piece to get a tight fit, and then nail the crown molding in place
Step 7: To cope on the right side, you have to reverse the direction of the miter saw and that of the crown molding inside it.
Do You Cope Outside Corners?
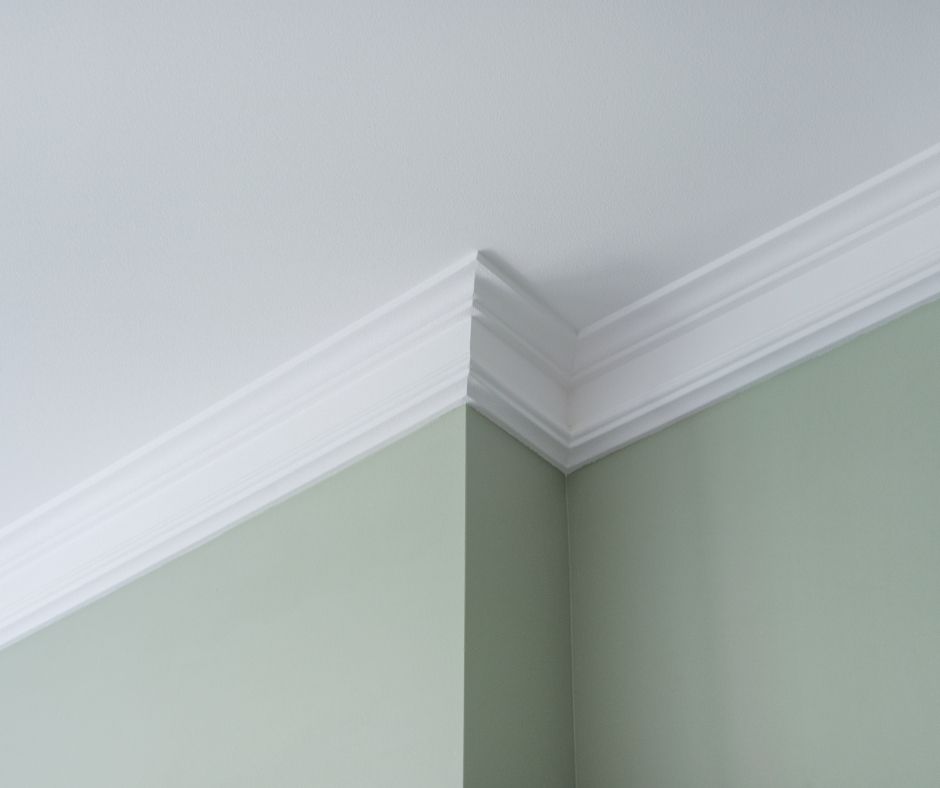
Outside corners are best mitered instead of coped. The reason for this is simple: most outside corners are perfect 90-degree corners.
Unlike in inside corners where coping is preferable to achieve tight and durable joints, outside corners are easy to navigate.
Furthermore, outside corners are more conspicuous. So, you need precise measurements when installing crown molding around outside corners to avoid any line shadows.
Typically, mitered joints are more accurate in measurements than coped joints, thus are more preferable here. Besides, it’s quicker to miter an outside crown molding corner than coping it.
Mitering crown molding at outside corners has a few perks that include:
- It’s remarkably effective with non-wood crown molding. Wood is susceptible to expansion and contraction due to varying moisture levels. Conversely, crown molding composites such as polyurethane and MDF molding are resistant to shrinkage in similar conditions. As such, mitering the latter proves more convenient and effective in achieving perfect crown molding.
- Creating mitered crown molding is a no-brainer as long as you have the requisite tools. Mitering is easy and fast, although you might fiddle a little with the pieces for a perfect fit. Conversely, coping requires mastery of the skill and it can take up considerable time to successfully cope with crown molding.
How Do You Cope Inside Corners?
Crown moldings are typically larger than most other trims. Generally, they’re installed at 45-degree angles. It’s normal to have uneven joints in crown molding. This results from variances in the structure, design, state, and orientation of the walls and ceilings.
Due to these inconsistencies, coping crown molding inside corners is preferable to mitering. Coping inside corners makes the entire crown molding installation more exciting and successful.
Here’s How to Cope Inside Corners
- Slice a piece of crown molding with a square butt such that it fits flush against the wall
- Cut a 45-degree angle miter into the right edge of the crown molding
- Position the other crown molding piece the orientation it’s to be installed, then highlight the area to cope using a pencil
- Use a coping saw to cut a miter cut along the highlighted pencil line. Slightly angle the coping saw to dislodge more material from the back face of the crown molding
- Test-fit the crown molding pieces by pressing the coped edge tightly against the mitered piece. You may have to cut away extra material from the coped piece of crown molding for a tight fit. Either way, avoid cutting past the highlighted pencil line.
Final thoughts
Generally, it’s best to cope with crown molding joints when working around tight inside corners. This results in firm joints that won’t shift when dry and hot weather sets. Moreover, coping the crown molding sets it perfectly even on imperfect walls and ceilings. Besides, it’s considered a statement of craftsmanship mastery.
On the other hand, beginners find it easier and faster to miter crown molding joints. Some experts also claim that mitering is cheaper and more convenient. Regardless, you can choose whichever method gives you perfect crown molding finish for your precise project.
Related Posts: