 If you’re looking at how to measure crown molding, you’ve come to the right place. There’s no doubt that installing crown molding is one of most effective ways to dress up an ordinary room.
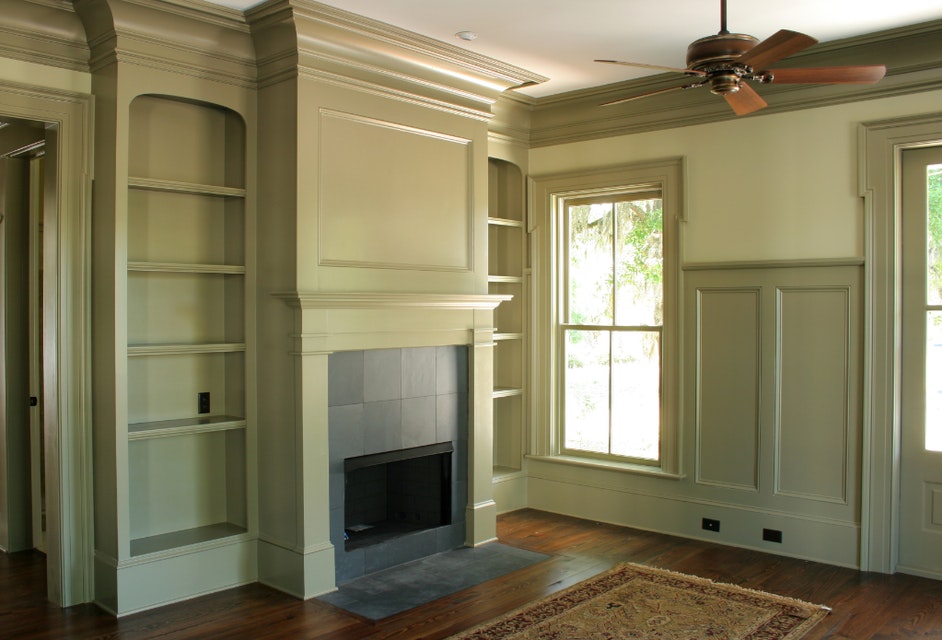
The visual impact it makes, provides a subtle yet elegant detailed feature to any design space.
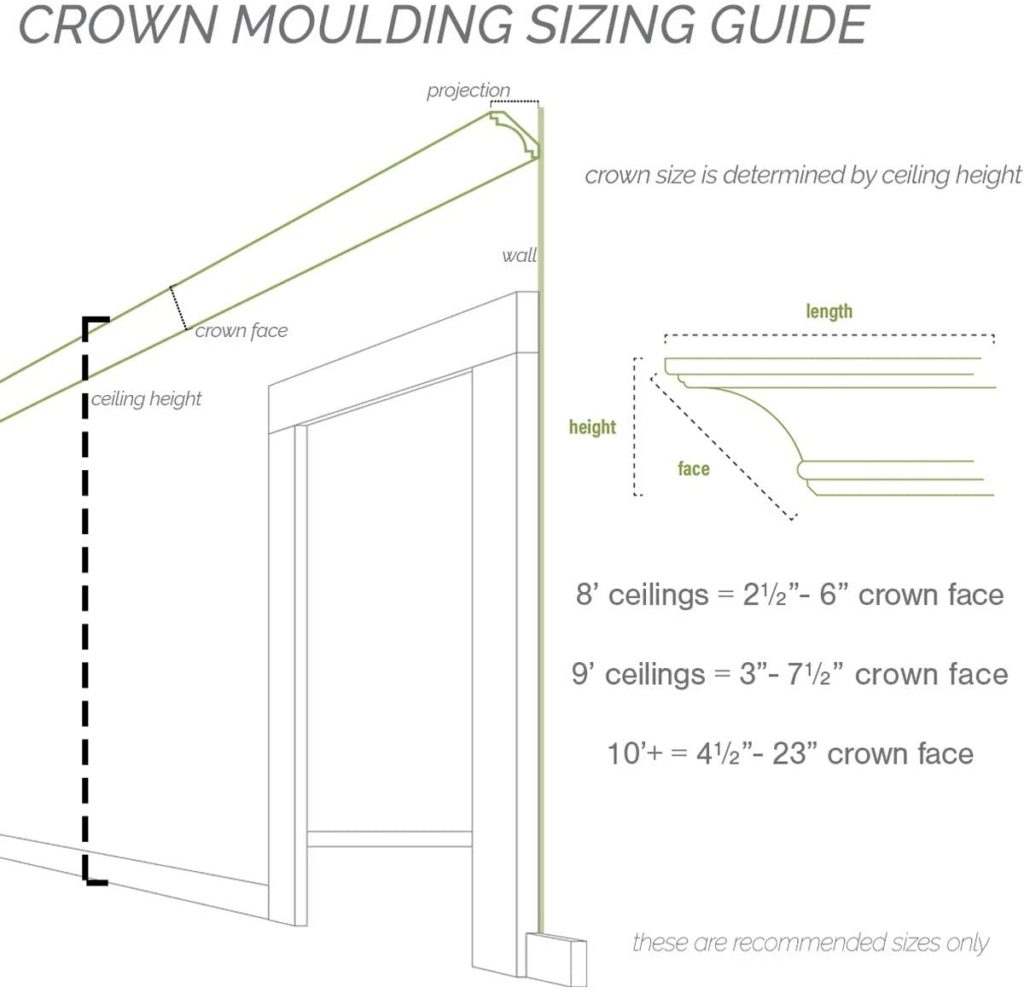
It’s important to note, that getting the right measurements is critical with crown molding, as it is not very forgiving.
The old adage, measure twice, cut once, is particularly applicable here. It will save you a lot of frustration and time being wasted down the track. With the right measurements taken, cutting crown molding flat, will be far more effective and necessary for correct installation.
Setting Up
To begin with, you will need:
- a pencil
- measuring tape
- two scrap pieces of wood that are the same width
- a combination square
- clamp
- miter saw
How to Measure Crown Molding – Steps
- Hold a small piece of scrap piece of wood up to the first corner of the room and lay a second piece on top of the first with an inch overlap.
- Make a mark where the two boards overlap.
- Connect the two opposite corners along the pencil line. Using a combination square as a straightedge, draw the diagonal. This will represent the bisection of the real angle created by the two walls.
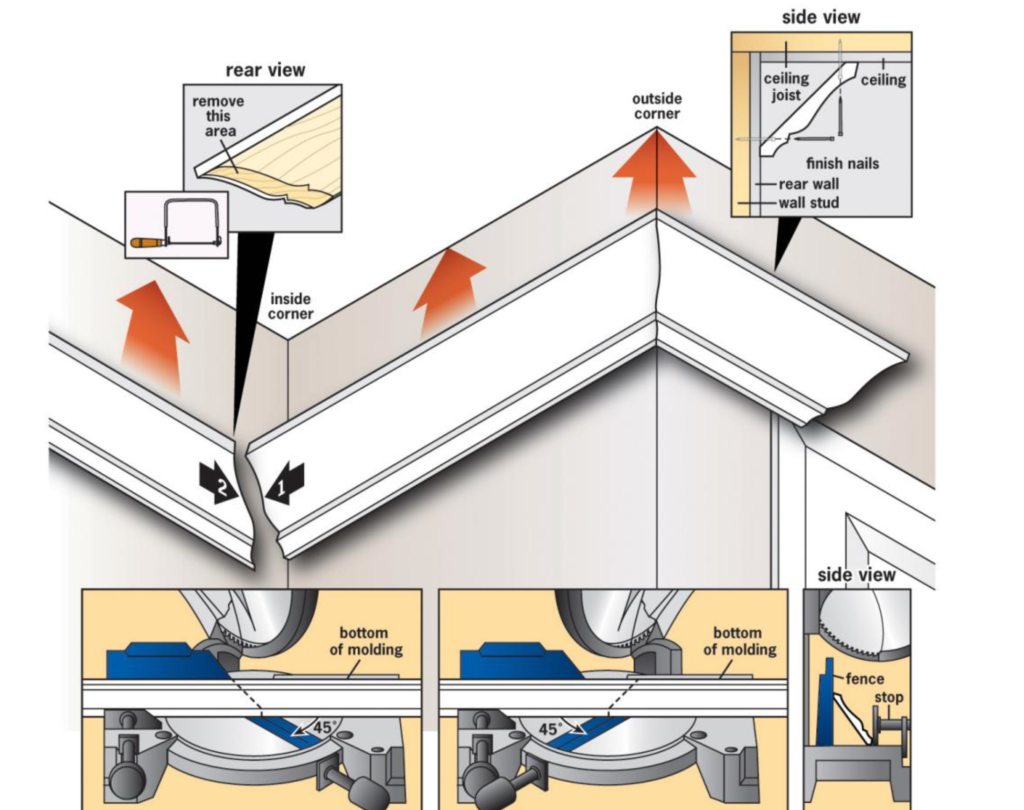
- Adjust your miter saw for the measurements of the bisection line. This will ensure you get the right angle of the actual room.
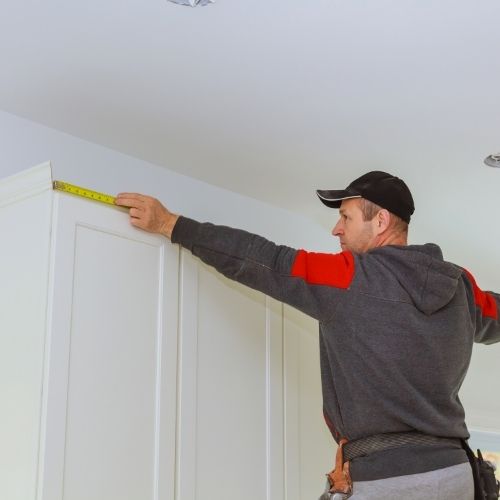
- Run a tape measure from one corner of the room to the next and record the measurement. For the inside corners, the end of the tape represents the long point of the miter cut. For the outside corners, the end of the tape is the shortest point of the cut.
- Make a slash mark with a pencil on the piece of crown molding while holding it, to keep the orientation correct.
You’re Now Ready to Make the Cut
- Position the crown molding upside down on the miter saw. The base of the saw acts as the ceiling of the room where you will install the molding, and the saw’s back fence acts as the wall. This is the easiest way to cut crown molding.
- Before you make the cut, clamp the molding in place on the saw.
- All you need to do now is repeat the process for each corner of the room where the crown molding will be installed.
Pro Tip: installing crown molding is best done as a two person job. It helps to have an extra set of hands when placing the molding precisely on the wall.
Final Thoughts….
Cutting crown molding is all about the right measurements and correct angles. Most cuts are made at 45-degree angles but there will be times when you need to adjust the corners for ones that are not an exact 90 degrees. Once you have taken your precise measurements and determined the angles of your room, you can set up the miter saw to properly cut the molding.
For a detailed guide on cutting crown molding flat (and how to install it) click here.
Wondering how much it crown molding costs? Click here for our review guide that details the average price of costs by material.